RetroPie on an ILI9341 LCD
2025-03-10
A guide on how you can use an SPI display and a GPIO controller to build a Raspberry Pi handheld.
Intro
A few weeks ago, I had the idea to build my own Raspberry Pi Zero 2 W-powered cyber deck. After completing it, I wanted to go one step further and turn it into a retro gaming handheld via RetroPie. Here is a complete guide on how I was able to accomplish this using an ILI9341 SPI LCD and a couple of GPIO push buttons.
Preparation
Components
- Raspberry Pi Zero 2 W
- 9 tactile push buttons
- ILI9341 SPI LCD
- 32GB micro SD card
You can follow this guide even if you are using a different SPI LCD or Raspberry Pi (non-Pico).
Wiring
Most Raspberry Pi models have roughly the same GPIO pins. You can find a diagram here.
Here is the wiring diagram for my ili9341 SPI display.
| GND | VCC | SCK | MISO | MOSI | CS | DC | RST | LED |
|---|---|---|---|---|---|---|---|---|
| GND | 3.3V | SCLK (0) | MISO (0) | MOSI (0) | CE (0) | 24 | 25 | 3.3V |
You can connect the push buttons to any available GPIO pins on your Raspberry Pi. Make sure you remember which ones.
Burning the SD Card
The Raspberry Pi boots from the SD card, so we need to ensure it is correctly formatted and burned with an operating system image.
The best way to do this is with the official Raspberry Pi Imager application. First, select your Raspberry Pi model. Next, choose any operating system on the list it provides you with (recommended) or select your own .iso. This guide is going to assume you selected RetroPie. Finally, insert your micro SD card into your computer and select it as the storage media. Before burning it, you have the option to configure the advanced settings. The most important settings to enable are Wi-Fi and SSH.
First Boot
Insert the micro SD card into your Raspberry Pi and connect the PWR usb port to any 5V @ 2.5A DC power source.
It may take up to ten minutes for your Raspberry Pi to complete the first boot. If you are running it headlessly, wait for the green LED to stop blinking.
SSH
This is an optional step. You can skip it if you have connected your Raspberry Pi to an HDMI monitor.
Assuming you have an SSH server installed on your computer, you can remotely access your Raspberry Pi by using ssh <user>@<hostname>. By default, <user> is pi and <hostname> is raspberrypi.local. With RetroPie, <hostname> is retropie.local.
This is extremely useful if your Raspberry Pi is in a inaccessible spot and you need access to it (e.g. to install packages or copy files).
Updating Packages
It is good practice to update your system packages with sudo apt update && sudo apt upgrade.
Display Driver
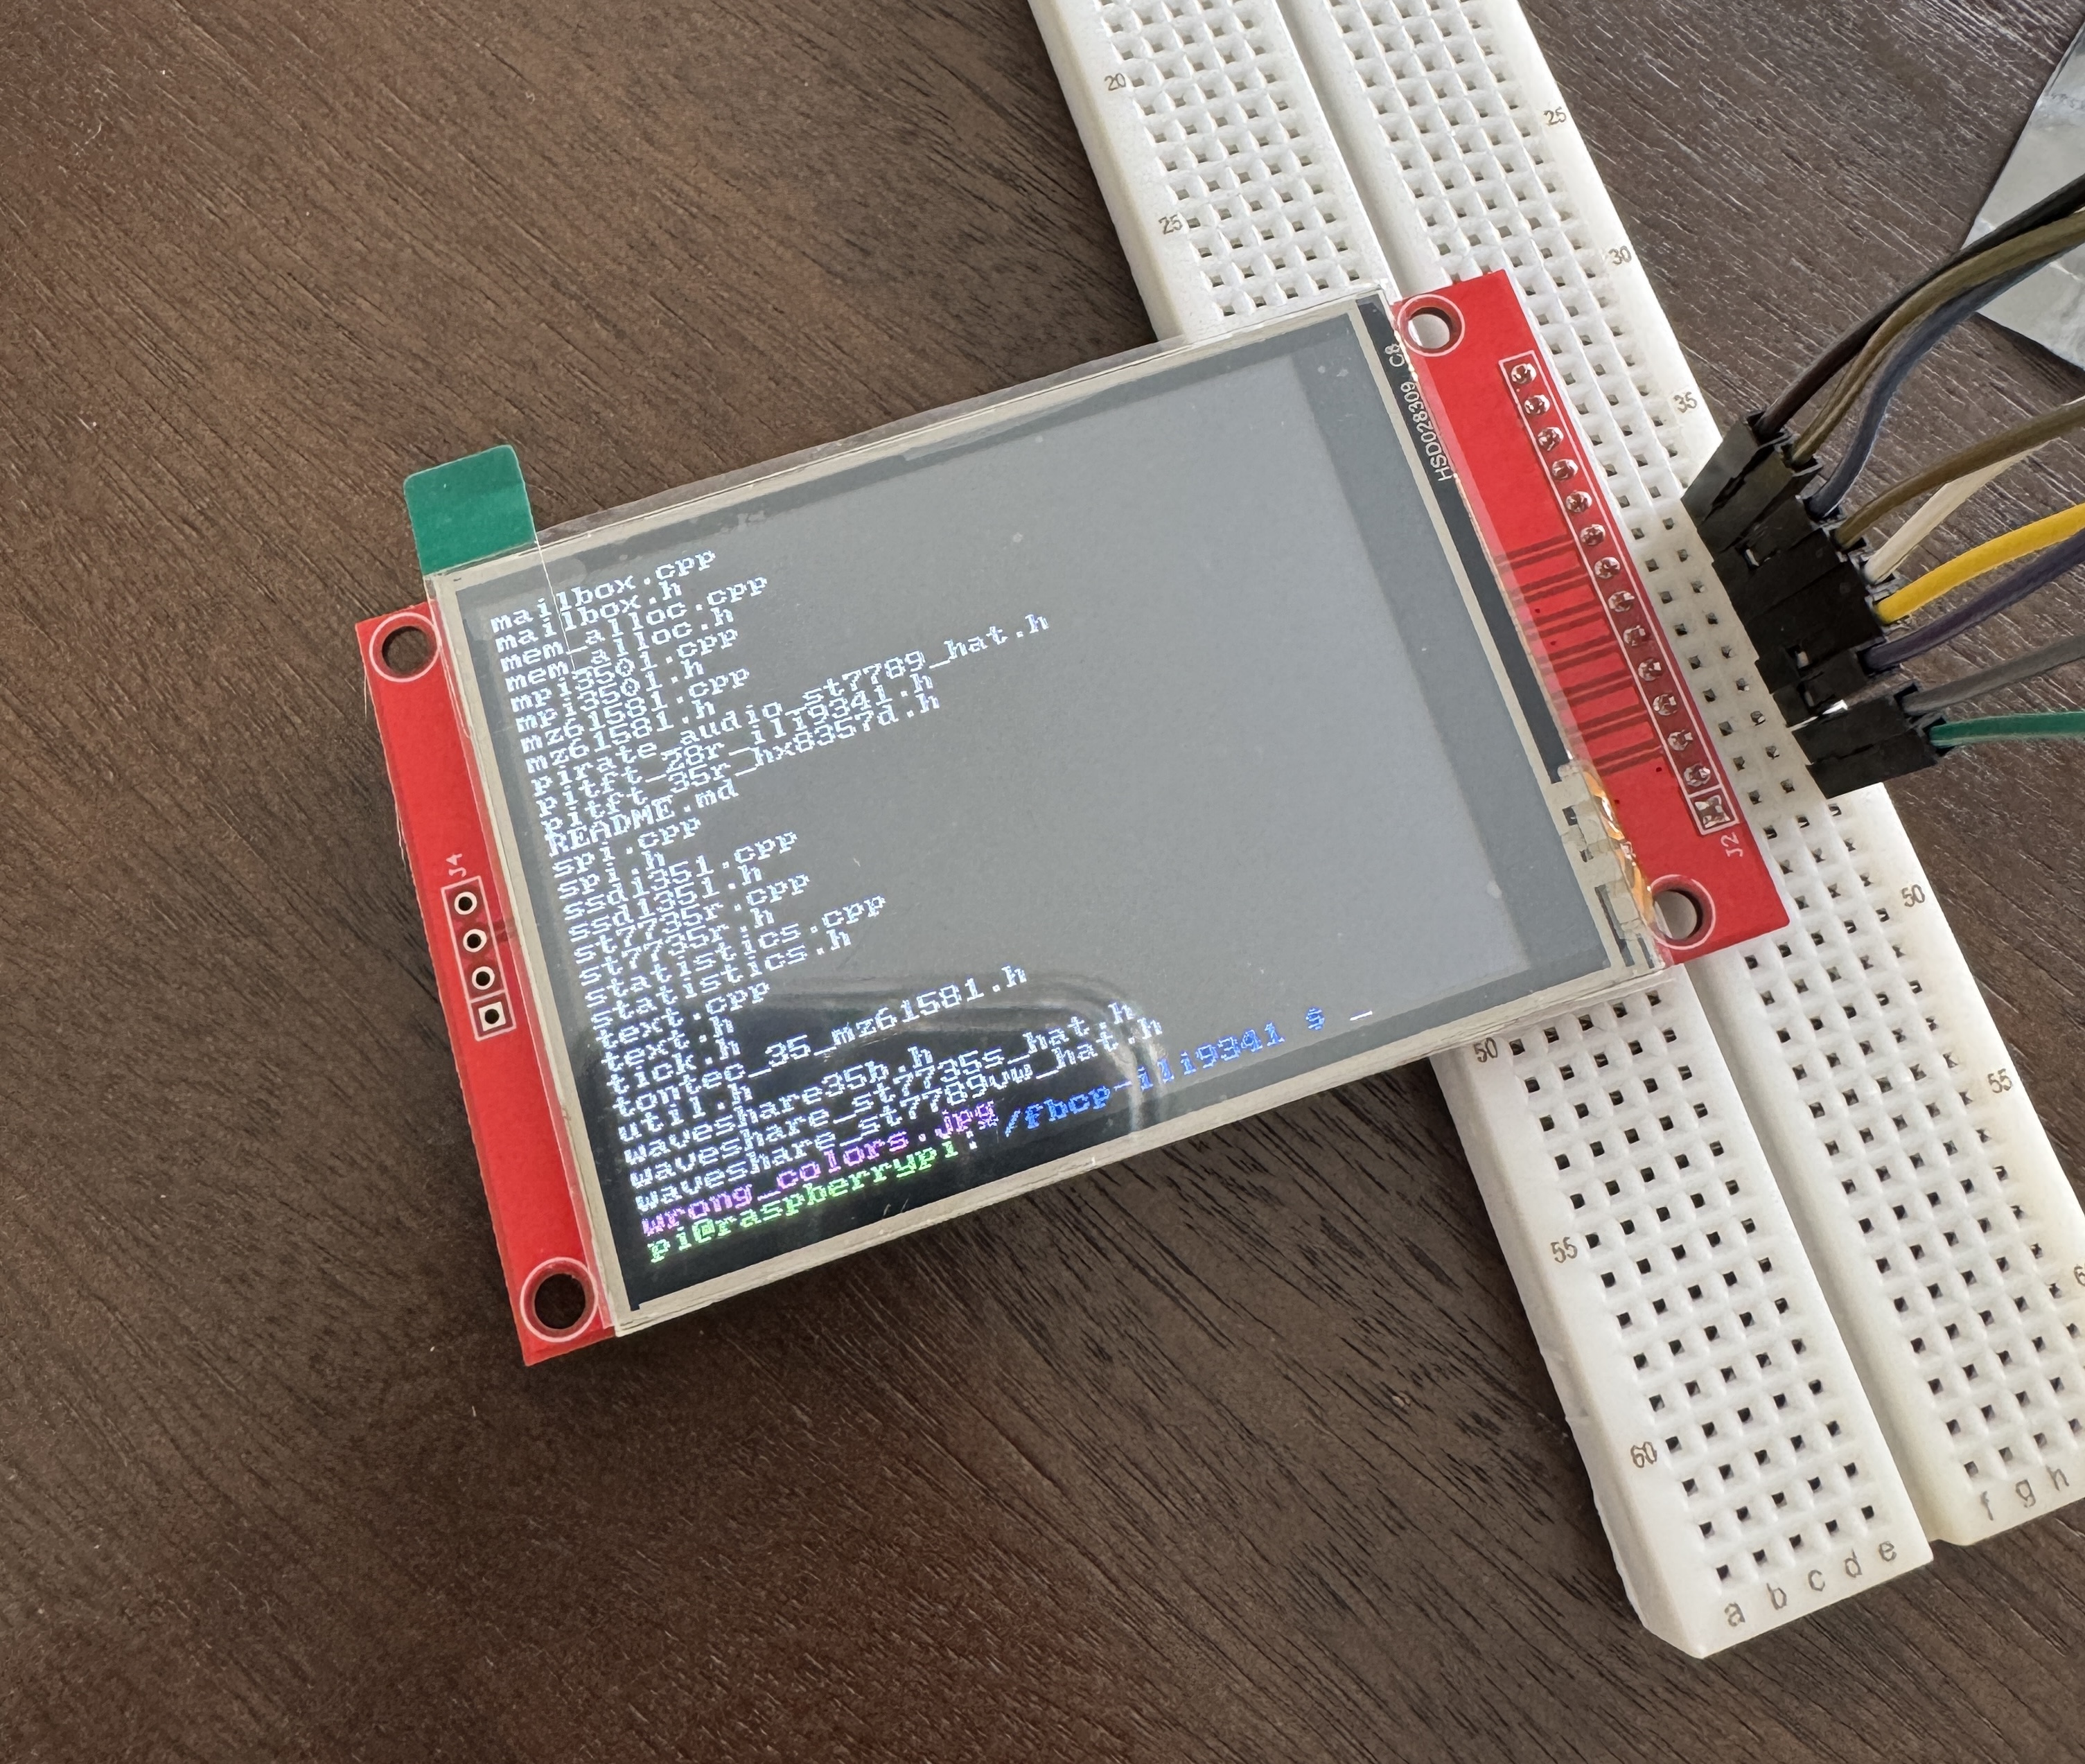
To get the LCD to work, you need to install the proper driver. fbcp-ili9341 is one of the most popular ones and has compatibility with various different types of SPI-based displays. The advantage of this particular driver is it offers up to a 60FPS refresh frequency which is crucial for SPI displays that have low clock speeds. It is important to note, however, it is depreciated and unavailable on the Raspberry Pi 5 and onwards.
The short, high-level version of how the driver works is that it essentially copies the HDMI framebuffer to the display. This means that there is virtually no difference between what you will see on an HDMI monitor and the SPI display.
Installation
fbcp-ili9341 has a great installation guide on the GitHub repository. After building the program, be sure to configure HDMI correctly.
To enable the driver on startup, copy fbcp-ili9341.service to /etc/systemd/system and enable it with systemctl. Be sure to create an empty fbcp-ili9341.conf file in /etc.
GPIO Controller
To make the buttons connected to the Raspberry Pi’s GPIO pins work as a RetroPie gamepad, you need to use yet another backend program. GPIOnext is very popular and is extremely easy to use. All you need to do to set it up it is run the installer script on the GitHub repository and follow the prompts.
Next Steps
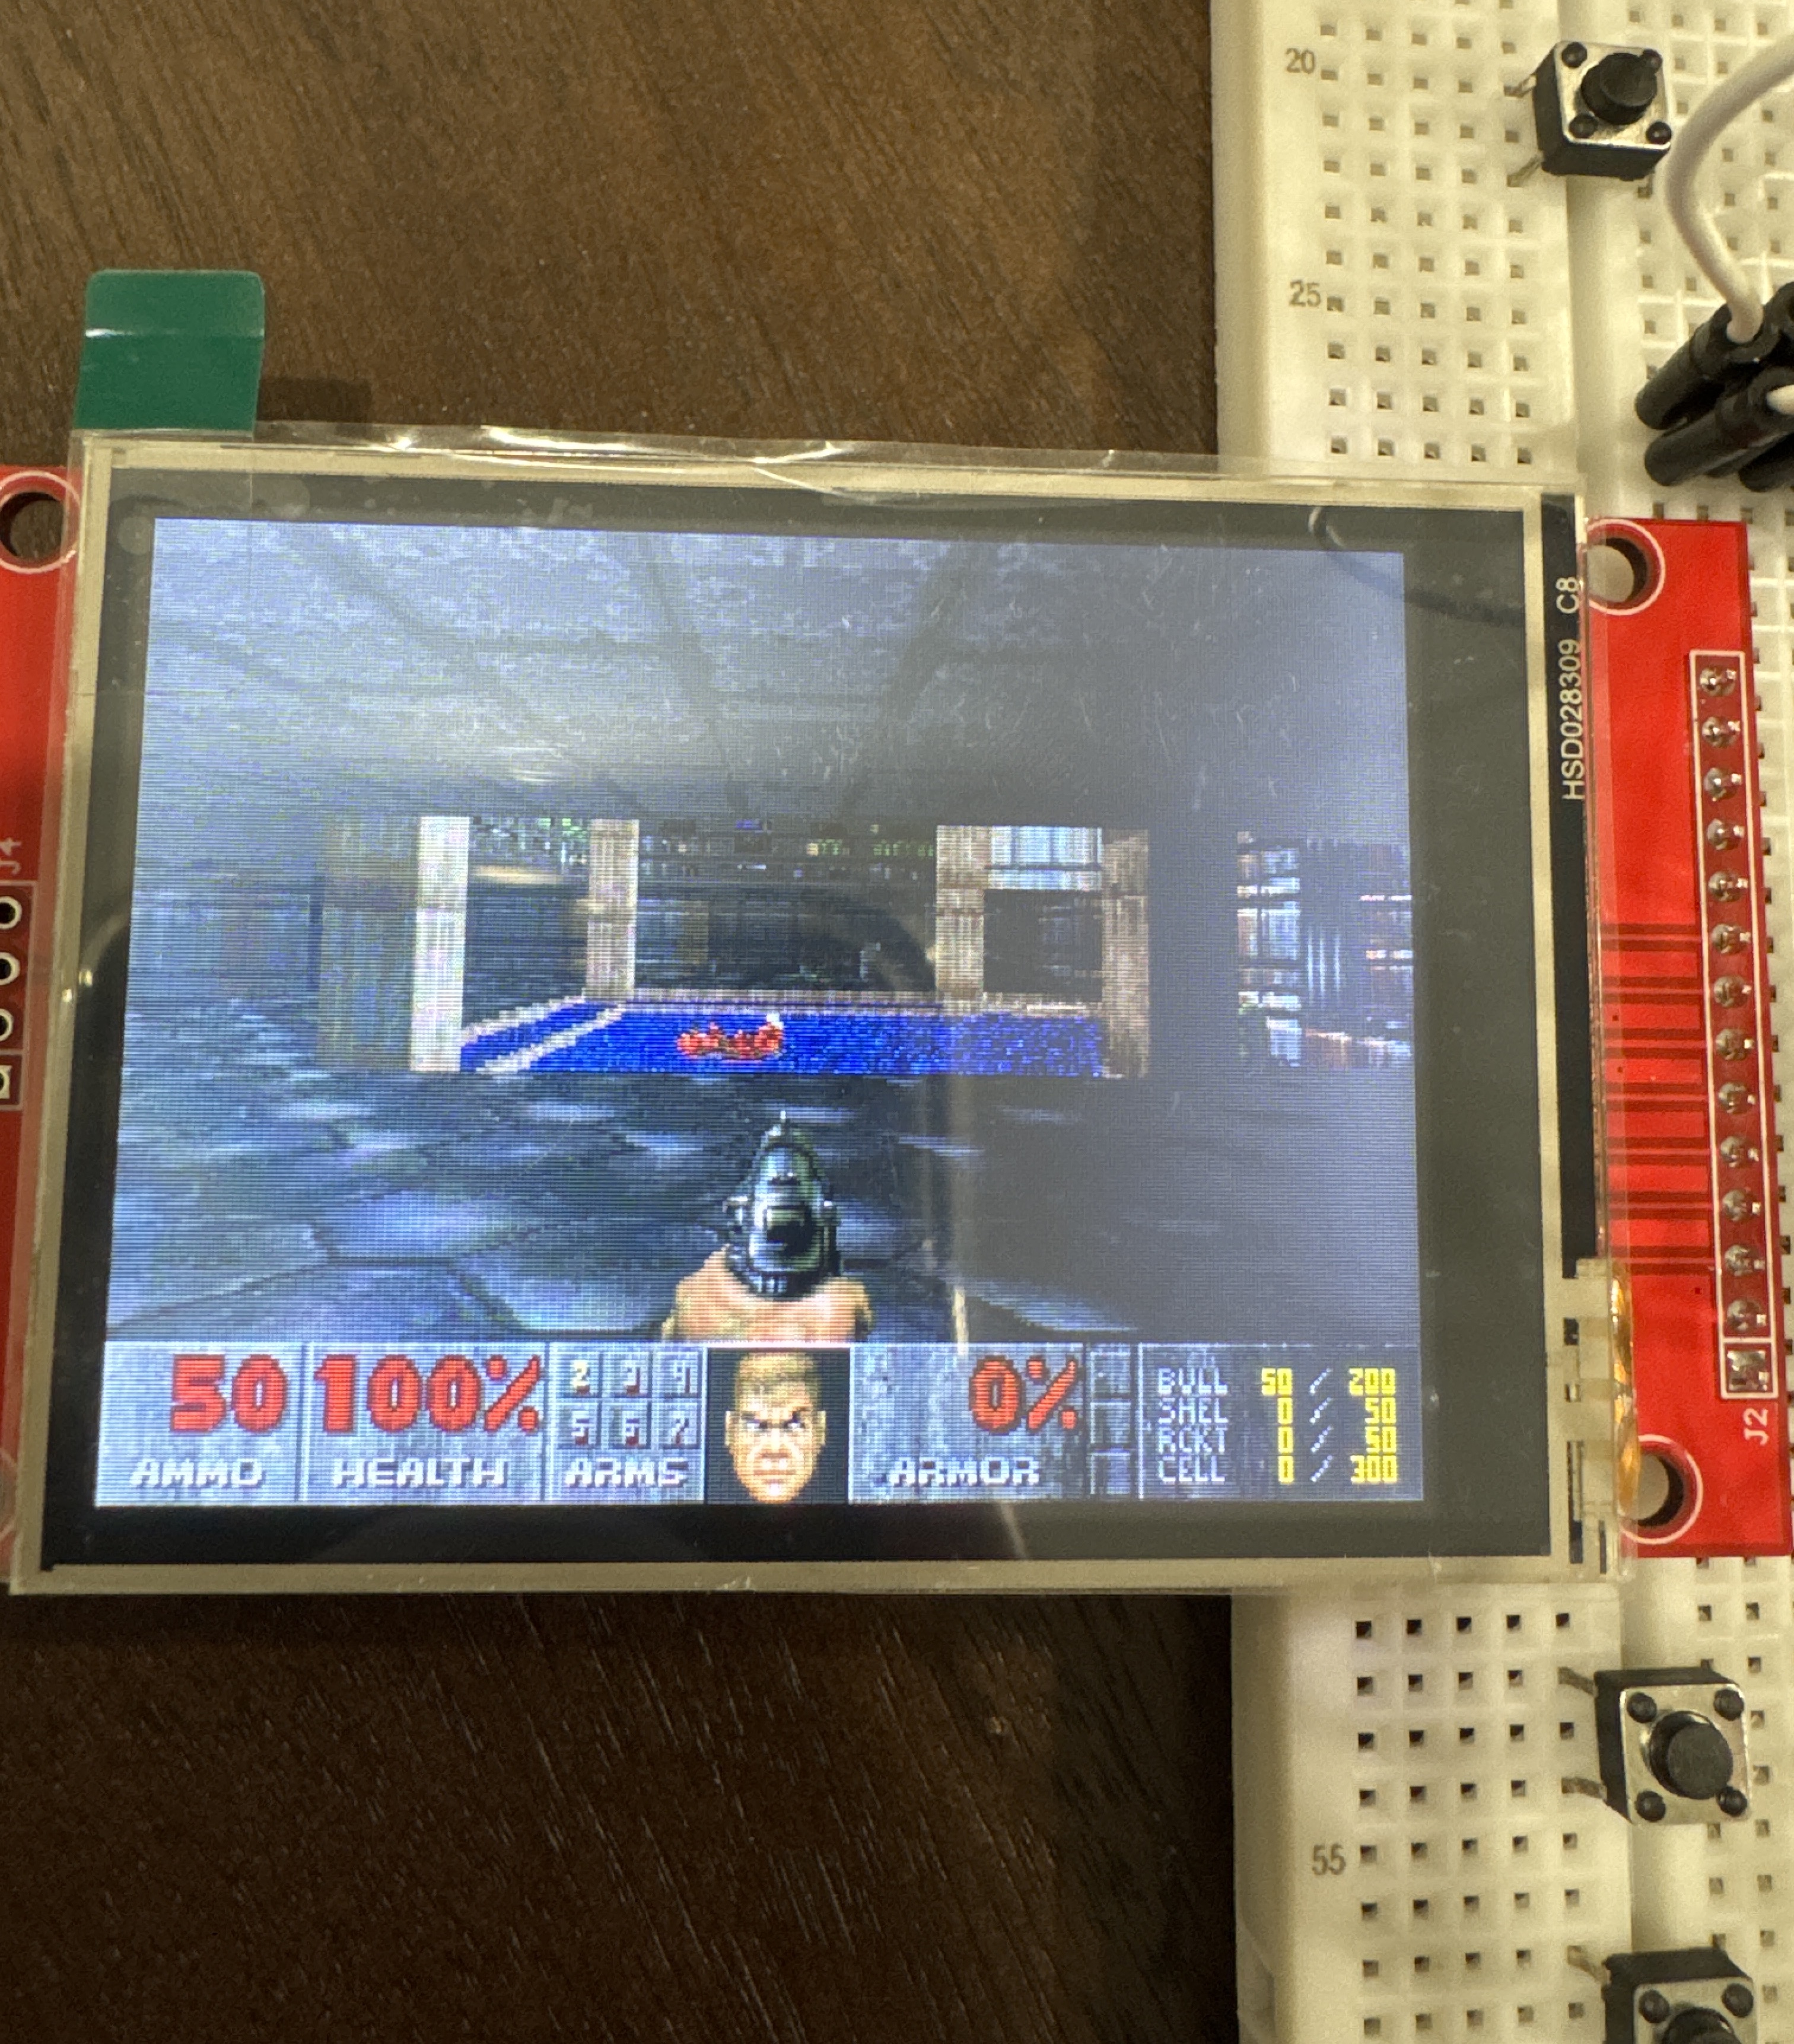
You should now have a minimal, working Raspberry Pi-powered retro gaming device. There are a few things you can do to make it better.
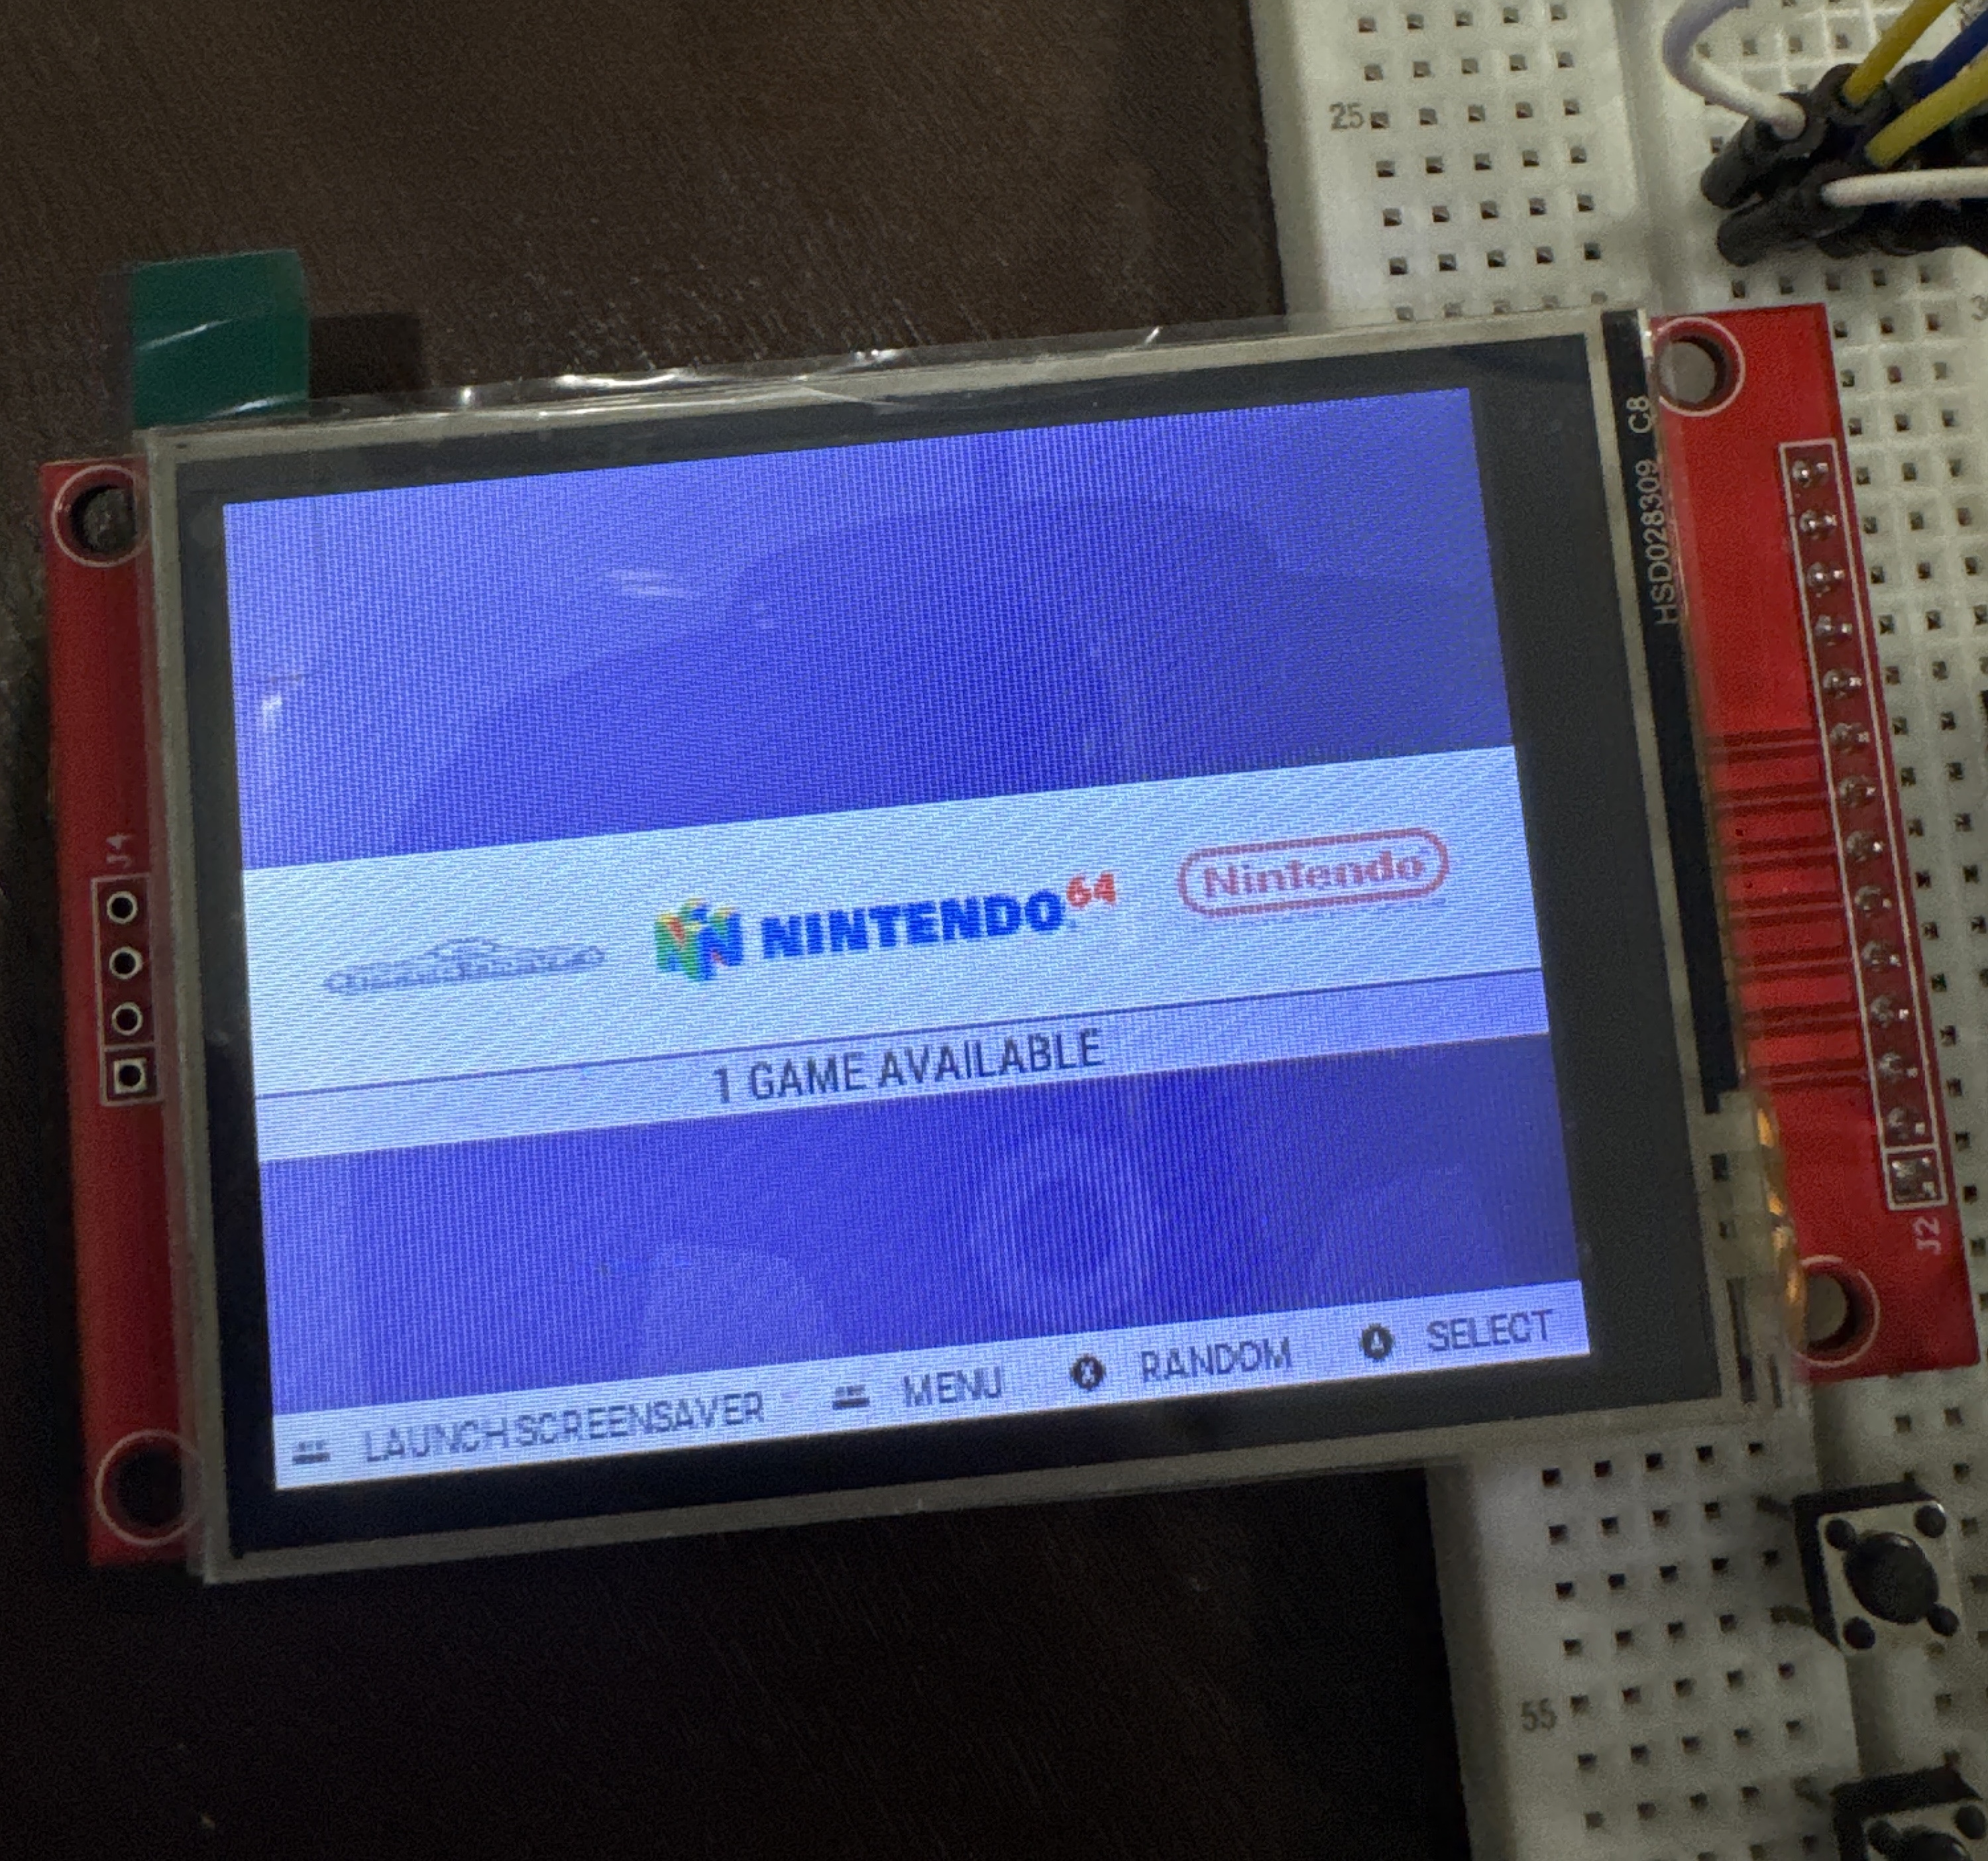
RetroPie Theme
Most SPI displays, like the ILI9341, are very small and have low resolutions. GBZ35 is a RetroPie theme that makes it easier to navigate and use RetroPie by optimizing the UI for 3.5” screens. It can be installed via the theme browser in the RetroPie settings.
Images